
February 11, 2026
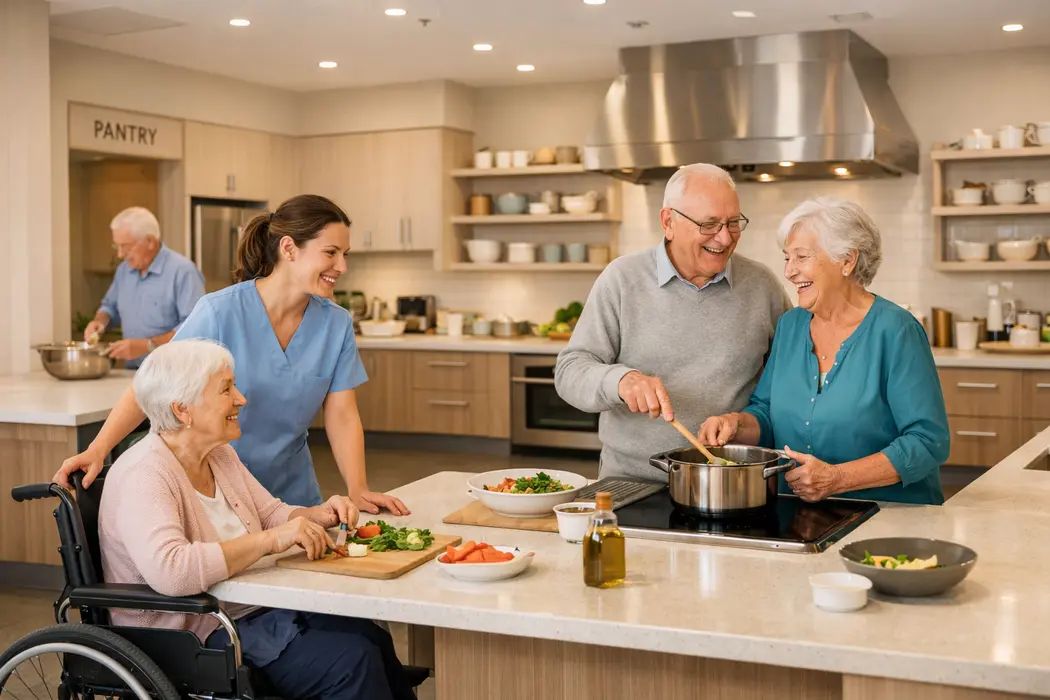
I remember one morning I saw Grandma struggling in the kitchen, reaching for something high. It struck me: something had to change. In Melbourne and beyond, many seniors want to age comfortably at home, so the idea of an Aged Care Kitchen Facelift is gaining popularity. You want a kitchen that’s pretty and easy for an older person to use.
This guide covers why upgrades matter, how to plan the project, key features to include, and even some design tips to keep it looking sharp. By the end, you’ll have a clear plan to turn a regular kitchen into a senior-friendly, modern space.
It’s a kitchen renovation focused on senior needs. Think easy-grip handles, brighter lights, non-slip floors, and perhaps slightly lower counters, all while keeping the space welcoming. In short, its accessibility meets good design. You end up with a kitchen that looks great and helps Grandma or Grandpa cook safely and comfortably.
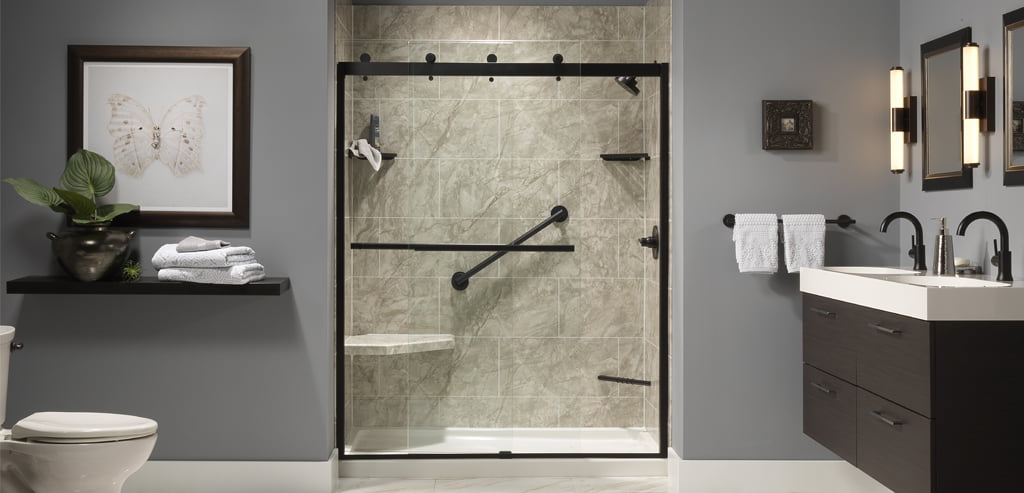
Most older Australians prefer staying in their own homes. The kitchen is often the home’s heart, but many kitchens weren’t built for aging bodies. Dim lighting, slick floors, and high cupboards turn cooking into a risky chore. Upgrading now is an investment in independence and safety. For example, replacing a loose rug with grippy vinyl can instantly stop falls.
That’s why an age-friendly kitchen facelift is so important. If you’re planning big changes (like adding a grab rail or ramp), it’s smart to talk to a Melbourne handrail installation expert early. They’ll ensure the supports meet safety standards and look good. Professionals can guide you on regulations so you don’t have to guess.
First, do an honest audit of the kitchen. Pretend you’re the senior using it. Note any problem spots:
Write down all issues. Decide what must change (safety hazards) and what can wait (nice-to-have). Prioritize fixes like non-slip flooring and bright lights first, then plan the rest.
Be honest about the budget. A full reno (cabinets, appliances) can cost tens of thousands. But smaller upgrades (new floor, lighting, better storage) might cost only a few thousand. You can work in phases: for example, fix the floor one month, change the lights the next. Each step makes the kitchen safer than before.
Also check for help. Programs like the Commonwealth Home Support Program (CHSP) may cover some modifications. They could pay for rails, better lighting, or minor repairs. Contact My Aged Care to see if you qualify. Many families are surprised how much assistance is available.
After planning, consider adding these features:
| Feature | Recommendation |
|---|---|
| Counter Height | ≤850 mm (around hip level) |
| Knee Clearance | ≥750 mm under sinks/cooktops |
| Floor | Non-slip matte vinyl or tile |
| Lighting | Bright LEDs + under-cabinet task lights |
| Space | ~1500 mm turning space (accessible) |
Safety and style can go hand-in-hand. Use warm, matte finishes (like wood tones or stone-look vinyl) that hide scuffs and reduce glare. Choose colors the senior loves maybe soft blues, greens, or neutrals. Keep the layout open if you can; adding an island or a U-shaped counter improves traffic flow and lets helpers gather around.
Add personal touches: a potted herb in an easy-to-reach spot, family photos on the wall, or a favorite artwork. These make the kitchen feel homey, not clinical. Even slip-proof mats in a fun pattern can add color and hide wear. Involving the senior in color or decor choices can make the space truly theirs.
Kitchens aren’t cheap, so plan carefully. Get quotes from renovators with experience in accessible design. Consider consulting an occupational therapist (OT) or aging-in-place specialist. An OT assessment can reveal needs you might not think of.
Check if local services or councils offer home-mod advice. Some seniors’ groups share tips on trusted tradespeople. A builder will handle the work, but you’ll likely also need an electrician (for lights and outlets) and a plumber (if moving sinks). For rails and ramps, a certified installer is wise. Hiring pros ensures everything is done safely and to code.
Timing depends on scope. A minor facelift (new floor, paint, lights) could take 1–2 weeks. A full renovation typically takes 4–8 weeks from planning to finish. Phasing the work can spread out the cost and reduce disruption. Plan around the senior’s schedule for minimal stress, for example, do the loudest work while they’re out.
An aged care kitchen facelift is one of the best gifts you can give a loved one. Each change, even a single grip rail or new light makes the home safer and more comfortable. We’ve covered how to assess needs, plan your layout, choose the right features, and even keep it stylish.
Take it step by step. Start with the biggest safety risk, then check each item on your list. With thoughtful planning and the right help, your aged care kitchen facelift will blend independence, safety, and style perfectly.
Are you ready to begin? Grab a notebook, walk through your kitchen with fresh eyes, and make a plan. Share this guide with friends or family who might need it. Here’s to many happy and safe meals ahead in your newly revamped kitchen!
It’s a kitchen remodel tailored for seniors’ needs. It focuses on safety and comfort, for example, non-slip floors, better lighting, reachable storage, and easy handles while keeping the space looking nice.
As people age, tasks like bending or reaching become harder. An age-friendly kitchen removes obstacles and reduces risks of falls or burns. It helps seniors live independently longer and gives peace of mind to families.
Key features include slip-resistant flooring, bright layered lighting, pull-out or lower cabinets, lever handles, and grab rails where needed. Appliances like induction cooktops or wall ovens improve safety too. Basically, anything that reduces bending, reaching, and accident risk.
Costs vary. Minor upgrades (flooring, lighting, handles) might be a few thousand dollars. A full remodel (new cabinets, appliances) can be $20k–$50k+ in Australia. You can phase the work to spread out the cost. Prioritize urgent fixes and add others over time.
Possibly. Programs like the Commonwealth Home Support Program (CHSP) or Support at Home may cover some home modifications (e.g., rails, non-slip mats). Check with My Aged Care or an aged care assessor. Many people find the government helps pay for changes that keep seniors safe at home.
At minimum, hire a reliable renovator or builder. You’ll likely also need an electrician and possibly a plumber. For grab rails or ramps, use certified installers or consider an OT for layout advice. Professionals ensure the work is safe and code-compliant.
It depends on scope. A minor facelift (new floor, paint, lights) might take 1–2 weeks. A full renovation usually takes 4–8 weeks from planning to finish. Doing it in phases can make it more manageable.