
January 27, 2026
You know that heart-skipping moment when you slip on a wet tile? I was there, and suddenly the bathroom felt like an obstacle course. As anyone who’s watched a grandparent tackle a shower knows, aging should come with grip, not fear.
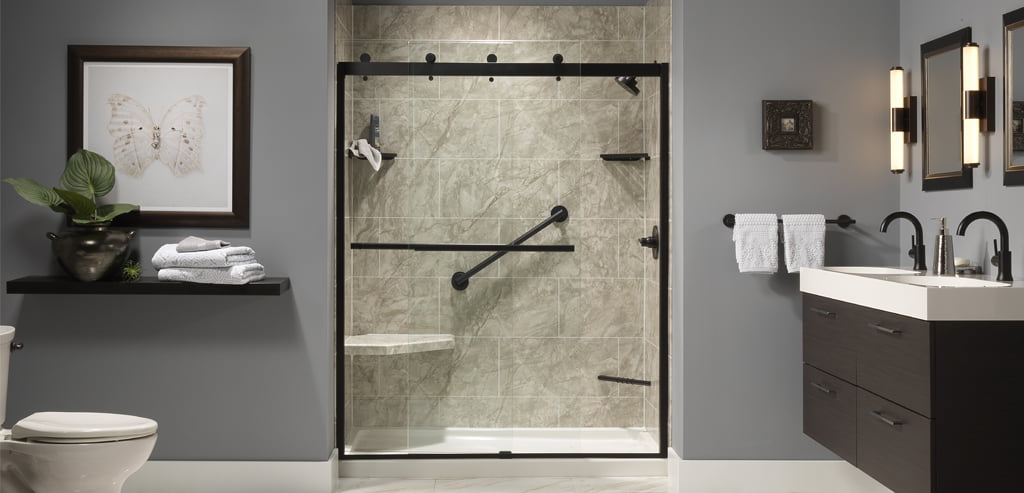
Bath Grab Rails are unsung heroes in those moments; tiny helpers that turn a dangerous step into a confident stride. Whether you live in a trendy Melbourne pad or a classic suburban home, adding a sleek grab rail can mean the difference between a confident wash and an emergency call.
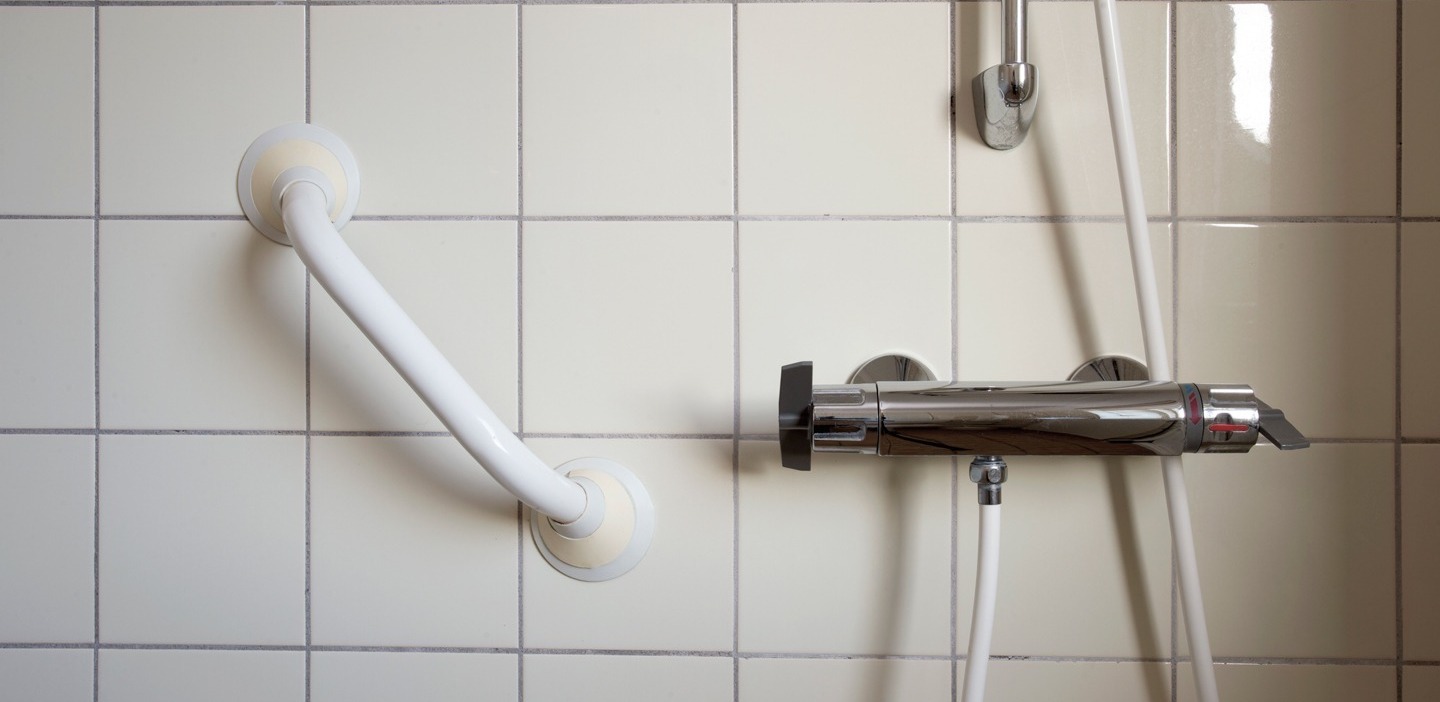
You might imagine grab rails as clunky chunks of metal, but today’s designs are more like bathroom jewelry. They come in sleek finishes from brushed steel to matte black that blend with any décor. I was genuinely surprised the first time I saw one installed in a modern bath, it looked less like a medical gadget and more like a minimalist art piece.
In Melbourne’s design-savvy scene, these rails fit right in. And for someone who values staying independent (that’s you, me, and even Mum), fitting a grab rail is about as smart and stylish a home upgrade as you can make.
Some DIY projects are fun weekend adventures, but installing a grab rail can be trickier than hanging a picture. I once tried calculating studs, anchor length, wall material and ended up with a wobbly rail and a bruised ego. You want that rail locked in solid, not giving way under a full-body lean. That’s why it can make sense to call for a Professional grab rails Installation in Melbourne service.
A qualified installer will know exactly where to screw, what anchors to use, and how to seal everything against moisture. The last thing I wanted was to drill straight into plumbing or have the whole thing rip out during morning bathtime. Call it a peace-of-mind investment; I sleep much better knowing the rail won’t budge when Mum grabs it.
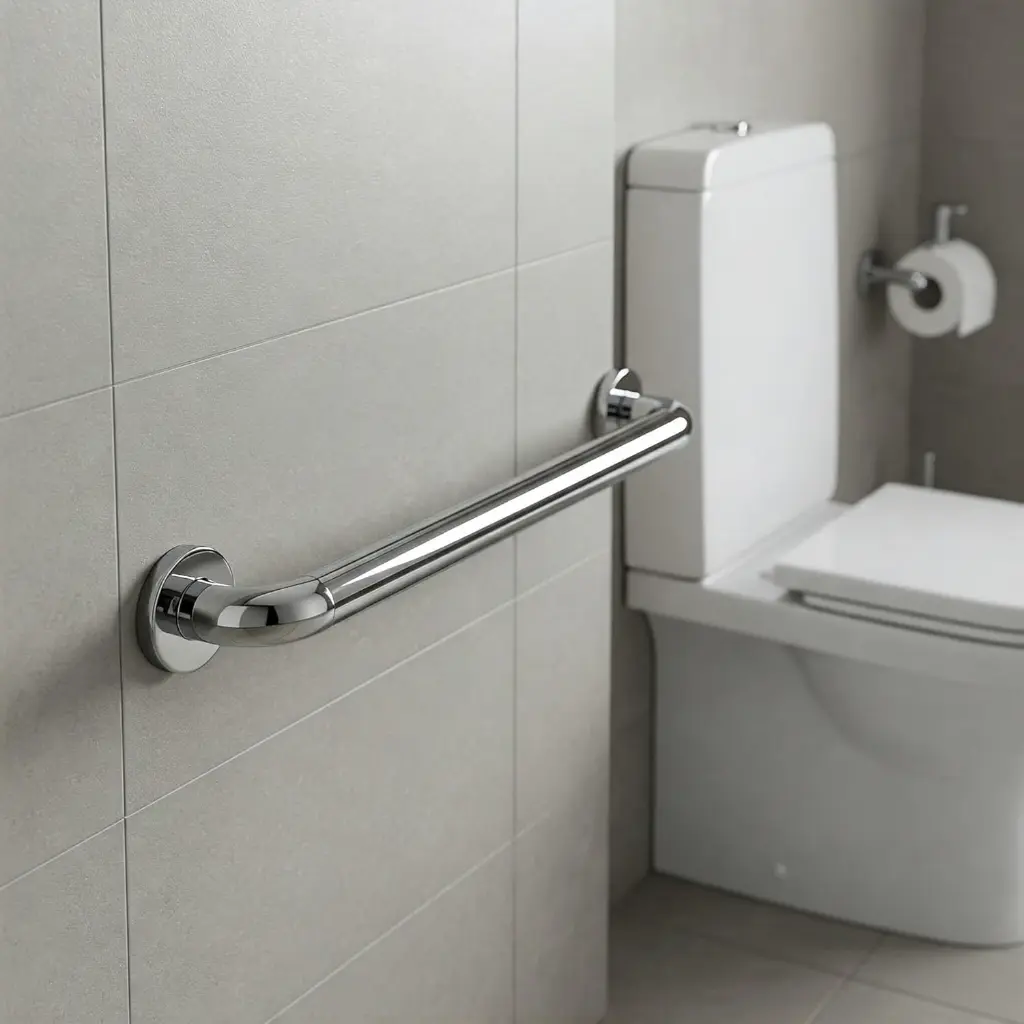
When it comes to grab rails, one size definitely doesn’t fit all. There are several styles depending on your tub and wall. For example, suction-cup rails clamp onto the edge of the bath with no drilling (handy if you rent, but not as sturdy). Clamp-on rails tighten around the tub lip for extra firmness. Then you have the classic wall-mounted bars: straight bars, L-shaped bars, even ones that fold flat against the wall when not in use. To give you a sense of it, here’s a quick breakdown:
| Type | Ease of Install | Price Range | Notes |
|---|---|---|---|
| Suction Cup Rail | Easy (no tools needed) | A$30–$50 | Portable, but not fully reliable |
| Clamp-On Rail | DIY clamp (no drilling) | A$50–$80 | Portable, clamps onto tub edge |
| Fixed Straight Rail | Pro required (drilling) | A$100–$200 | Sturdy, always secure |
| L-Shaped (Angled) Rail | Pro required (drilling) | A$150–$250 | Pull from different angles |
| Fold-Down Rail | Pro required (drilling) | A$200+ | Space-saving, heavy-duty support |
Need help deciding? A clamp-on or suction rail is cheap and easy (if it’s just for balance, not bearing your full weight). For a heavy-duty fix, wall-mounted bars are best. Straight bars fit almost anywhere; angled (L-shaped) rails give you extra pull points.
Personally, I love stainless steel wall rails, they look sleek and hold up to a firm grip. Also think about size: a longer, thicker 30mm bar is easier to hold. And placement is key: put the rail where you naturally grab (like the tub edge or wall where you step in). Honestly, any rail used right beats none at all.
My advice? Budget roughly A$100–A$200 per rail for decent quality. You can find clamp-on grab bars for as little as A$30–A$50, but sturdy wall-mounted stainless bars often start near A$100 each. On top of that, installation adds to the tab: a tradesperson might charge around A$100–A$150 per hour, and a couple of rails could be a few hours’ work.
All told, a two-rail setup might easily hit A$400–A$600. It sounds steep, but remember: you’re investing in safer daily routines — much cheaper than a hospital bill if a fall happens.
For many older Australians, there’s good news: the government often chips in. Programs like the Commonwealth Home Support Program and Home Care Packages can help pay for home safety modifications. In fact, My Aged Care’s Home Adjustments service explicitly lists grab rails as a modification to provide stability when bathing.
If you have an aged care plan or package, mention it to your assessor, you might get the rails (and installation) funded. It’s definitely worth exploring, because who couldn’t use a little extra support?
If you do decide to tackle installation yourself, here are the general steps (and remember: safety first).
You don’t have to go at it alone. If that sounds like a handful (and honestly, it is a bit of work), calling a certified installer might save time and worry. They come with all the right tools and know exactly how to avoid hidden pipes or electrical cables. I’ve seen projects where everything was perfect – water-tight seal and zero wobble – just because the installer had done it a hundred times. Plus, many pros will guarantee the job, giving you an extra layer of confidence.
Bath grab rails may look small, but they make a big difference. They help you feel steady, confident, and safe every time you step into the bath or shower. We looked at the types, costs, and how installation works, so you can choose what suits your bathroom and your needs.
If you care about safety and independence, now is a great time to add a grab rail. You can talk to a home modifications specialist or buy one and arrange installation yourself. Waiting for a fall is never a good plan.
A simple grab rail can make your bathroom safer and give you peace of mind every day.
Bath grab rails (also called grab bars) are sturdy bars installed in your bathroom to give you something solid to hold onto. They help seniors or anyone with mobility challenges by providing extra support while stepping in and out of the tub or standing in the shower. I see them as safety helpers — one good grip on the rail can stop a slip from turning into a fall.
It varies. Basic rails that clamp or suction on start around A$30–A$50. More robust, wall-mounted bars (often stainless steel) usually range from A$100–A$200 each. Then add installation: a tradie might charge around A$100–A$150 per hour. All together, getting two quality rails and having them professionally installed can easily reach a few hundred dollars, so it’s wise to budget accordingly.
If you’re handy, you might do a clamp-on rail yourself. But truth is, fixed rails need secure fixing into studs or a strong backing. I always say, if you’re even a little unsure, get a professional installer. They’ll ensure the rail is positioned correctly, secured tightly, and watertight. After hiring one once, I felt much better knowing it was done right.
Suction-cup rails can give you quick extra grip (they’re popular for rentals or quick fixes), but I treat them as temporary helpers. They only stick to very smooth surfaces and can fail if the seal isn’t perfect. I wouldn’t rely on one to catch my full weight. For true safety (especially for elderly users), a fixed rail bolted into the wall or tub is much more reliable.
Yes. For a proper job, you’ll want a stud-finder to locate solid backing, a drill (with a masonry bit if you’re drilling through tile), and heavy-duty anchors or toggle bolts. Then seal all screw holes with silicone caulk to keep water out. If that sounds like a lot, consider a pro again — they bring their own tools and know exactly which anchors work best.
Many older Australians get subsidies for home modifications. Government programs like the Commonwealth Home Support Program or Home Care Packages often cover mobility aids. The official My Aged Care portal even lists grab rails as approved adjustments to improve safety when bathing. So if you have an aged-care plan or package, talk to your case manager, they might help cover part or all of the cost.