March 3, 2026
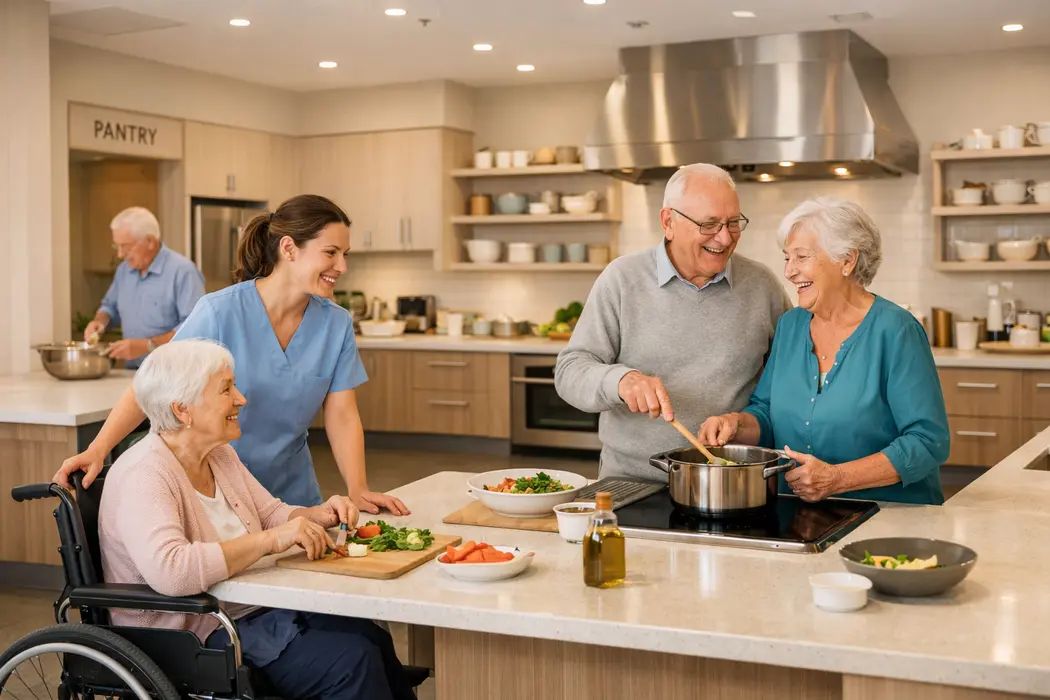
Imagine stepping into your kitchen and feeling instantly at ease – countertops at the perfect height, cabinets that open with a light touch, and everything you need within arm’s reach. Designing a kitchen that works for people with mobility challenges is not just about function – it’s about independence, confidence, and a dash of style.
Whether you’re an older adult planning to age in place or helping a loved one modify their home, this guide will show you how to create an accessible kitchen that feels as slick as a high-end bistro fit-out. Accessible or disabled kitchen cabinets can change daily routines from frustrating to freeing.
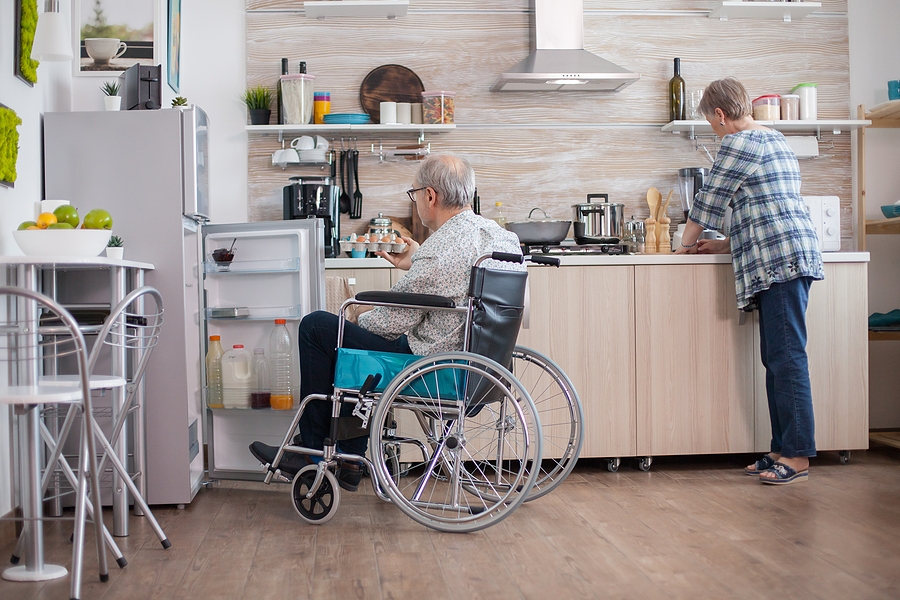
Put simply, disabled kitchen cabinets (also called accessible cabinets) are specially designed so that people with limited mobility can use the kitchen safely and comfortably. You might see lower benchtops (around 750–850mm high) so someone in a wheelchair or a shorter person can reach easily, or open knee space under sinks so a wheelchair can slide right up.
These cabinets often have roll-out pantry racks, pull-down upper shelves, and drawers instead of deep fixed shelves – basically, anything that takes the strain out of retrieving items. The idea is to remove barriers (literal and figurative) so cooking and cleaning become easier.
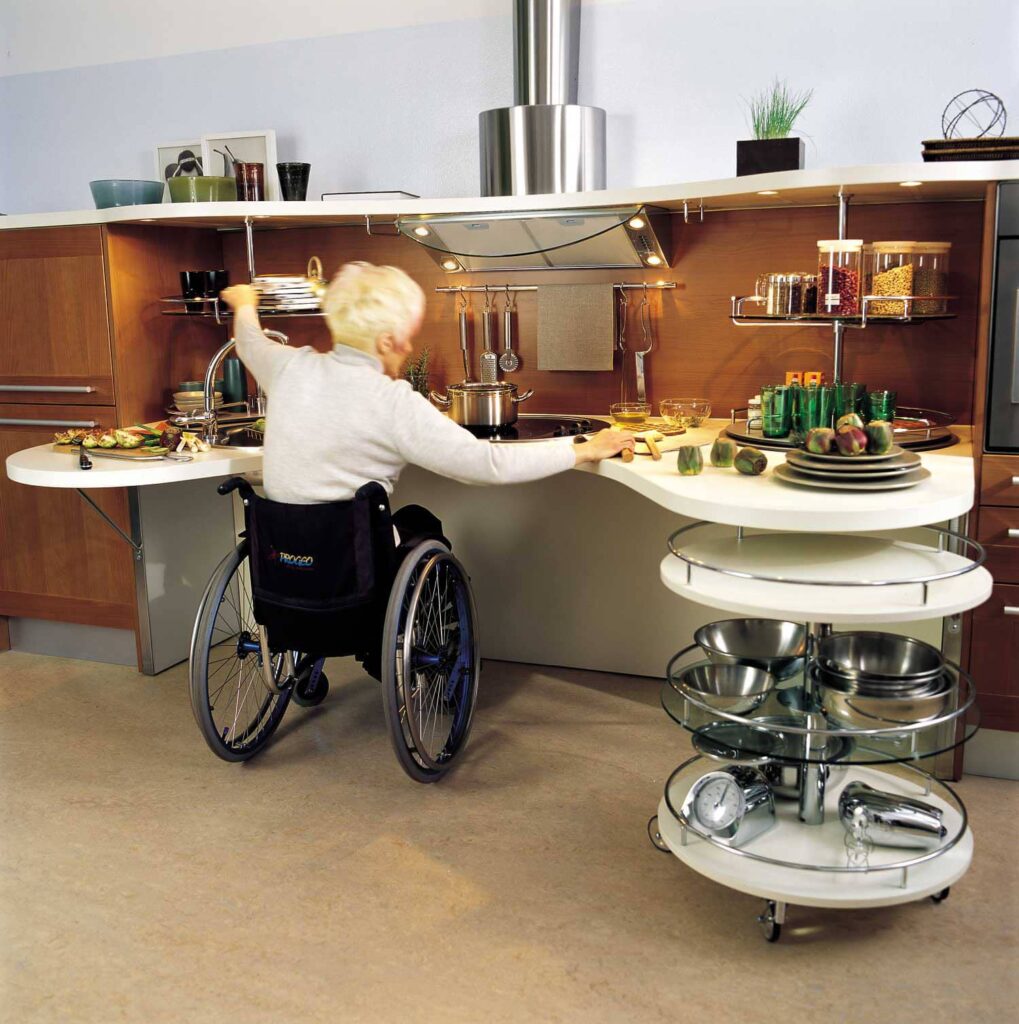
In fact, an expert in bathroom renovation for seniors often reminds me that accessible kitchens are as much about style as substance. It’s not about looking clinical – modern disabled kitchen cabinets can be sleek and attractive. Imagine a kitchen where every inch is usable: pull-out pantry drawers, slide-out cutting boards, and everything visible at a glance. These features mean you spend less time huffing and reaching for items, and more time enjoying a cup of tea by the bench.
Turning a standard kitchen into an accessible one involves a bunch of clever tweaks. Here are some must-have features (all very on-trend, so you can brag about your fancy kitchen too):
| Feature | Benefit |
|---|---|
| Lowered/Adjustable benchtops | Easier reach for seated users |
| Pull-out shelves & drawers | Items come out to you – no bending or stooping |
| Open space under sinks/benches | Wheelchair knee clearance for comfort |
| D-shaped handles, push-open | Operate drawers/doors with minimal effort |
| Non-slip floors & good lighting | Reduces falls and improves visibility |
| Voice/smart controls (optional) | Hands-free operation for limited mobility |
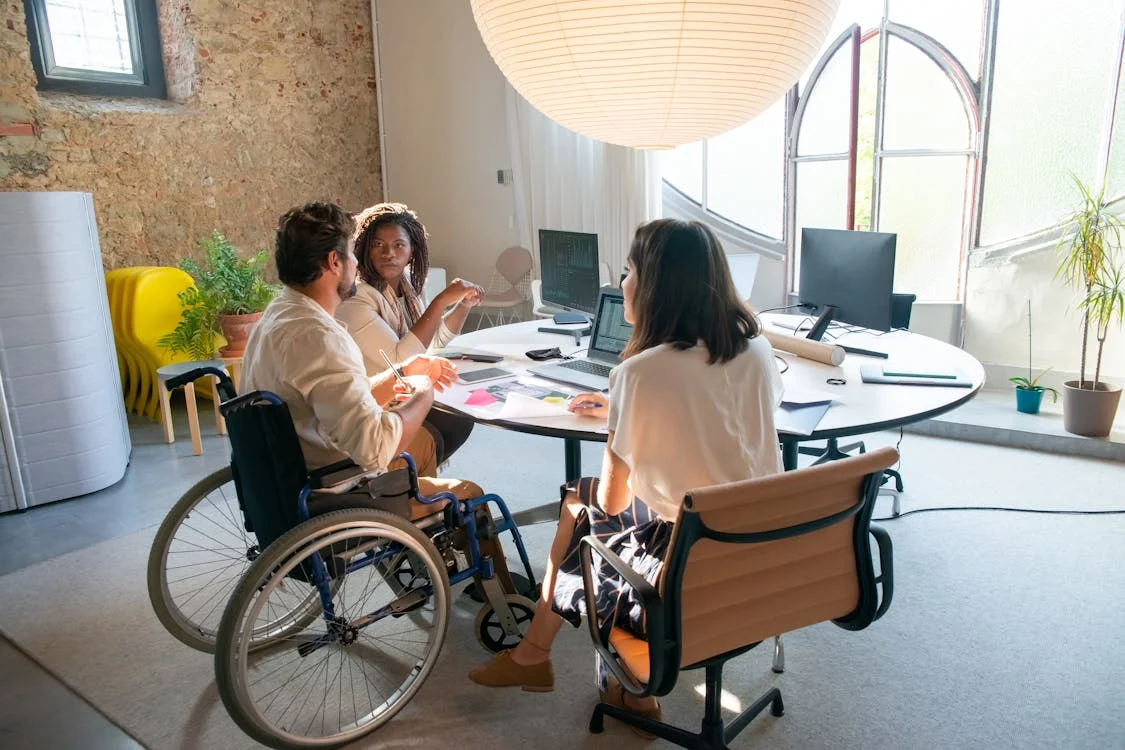
The shape of your kitchen can help (or not) with accessibility:
No matter the layout, the benefit is clear: easier movement and more usable space. We once taped a 1500mm-wide lane in a kitchen showroom, and it was surprising how spacious it felt – even two people could work side-by-side comfortably. The result? A kitchen that’s social, functional, and accessible to everyone.
Safety goes hand-in-hand with comfort. Here are easy ways to keep slips, burns and aches at bay:
Australia’s building codes are starting to bake accessibility into new homes. The National Construction Code (NCC) references standards like AS 1428.1 (Design for Access and Mobility) and the Livable Housing Design Guidelines.
You don’t have to slog through these documents, but here are some highlights: make doorways at least 820–850mm wide, plan for about 1500mm of clear turning space in at least one part of the kitchen, and design benches around 850mm for seated use.
Lever-style handles and no-step entries are also encouraged. Basically, if you follow the ideas above (wider paths, lower counters, etc.), you’ll naturally meet most standards and end up with a very comfortable kitchen.
Time to talk dollars. Accessible upgrades can range from simple to pricey:
To save money, keep as much existing cabinetry as possible (modify instead of replacing) and pick practical materials (like quality laminates instead of marble). Get multiple quotes, and consider phasing the work (do safety changes now, bigger carpentry later). Prioritize what improves independence the most – that way every dollar brings a real benefit.
So, who foots the bill? Australians have some help available. If you or a loved one are on the NDIS, kitchen modifications are usually covered. The NDIS home modifications page explicitly explains funding categories (Category A under $10k, Category B up to $20k) and requires an OT’s recommendation to justify them. It can pay for ramps, lowered cabinets, specialized taps – basically any change needed for independence.
If not on NDIS, check aged-care support: Home Care Packages (through My Aged Care) can allocate funds for home safety, which might cover assistive taps or bench changes. Some states have programs too – for example, Victoria’s Aids & Equipment Program (VA&EP) helps people with disability (not on NDIS) get home modifications. Other states may have similar grants or subsidies. Even local councils or community groups sometimes offer small grants for home safety projects.
| Support Program | Eligible People | What it Covers |
|---|---|---|
| NDIS Home Modifications | NDIS participants | Accessible kitchen cabinetry & home mods |
| Home Care Packages | Seniors with aged-care support | Assistive equipment & minor home mods |
| State Disability Grants (VA&EP) | People with disability not on NDIS | Subsidies for aids, equipment, home mods |
| Private Funding | General public | Out-of-pocket (some insurers may assist) |
Don’t hesitate to ask for help. Often a simple assessment by an OT or council disability officer will point you to the right program. Even a partial subsidy can cover a big-ticket item like a custom cabinet. Check your state health or aging website for “home modification grants” – there’s often information on available funds.
Ready to build? Here’s how it often goes:
It can take a few days to a few weeks, depending on how much is done and who you hire. You can phase the work too – for example, redo the sink side first and live with temporary appliances until the rest is done. The key is to plan carefully. More time spent measuring and designing upfront means fewer surprises later.
Renovating with accessibility in mind is like giving your home a big hug. Disabled kitchen cabinets and smart layouts don’t just tick a disability box – they open up your life. You end up with a kitchen that’s safer, more comfortable, and honestly, pretty darn cool. Every time someone uses that lowered counter or glides open a drawer, they gain independence – and that’s a win for everyone.
So get excited! Sketch that dream accessible kitchen or chat with a designer who knows their stuff. Check out government grants, gather some quotes, and list your must-haves. Even small changes today (like swapping handles or adding lights) will make life easier. Your renovated kitchen could become the favourite room in the house – where cooking and conversations (and maybe even dancing) happen with a smile. Happy renovating!
Are disabled kitchen cabinets only for wheelchair users?
Not at all! They help many people. Anyone who has trouble bending, reaching or standing – such as seniors with sore knees, someone using a walker, or a person with limited strength – benefits from accessible designs. In short, disabled kitchen cabinets are about universal ease. (Plus, they’re handy for kids or anyone carrying a baby!)
What height should an accessible kitchen bench be?
Typically around 750–850mm from the floor. Standard benches are about 900mm, so accessible ones are a bit lower. The ideal height depends on the user’s seated elbow height. A quick test is to sit in the wheelchair or chair you’ll use and measure where your elbows fall. An occupational therapist can fine-tune this if needed.
Can I get financial help to update my kitchen?
Possibly. NDIS participants can include kitchen upgrades in their plan. Seniors with Home Care Packages may use some funding for home modifications. Many state governments offer grants or subsidies for disability home mods (for example, Victoria’s VA&EP). It’s worth checking with a social worker or the local council about available home modification programs. Even a small grant can cover an accessible faucet or a custom shelf.
How can I keep a stylish look with accessible features?
Accessible kitchens can look very stylish! Use contemporary finishes like you would in any high-end kitchen: stone countertops, sleek cupboards, and high-quality fixtures. Choose handles and taps that match your style (matte black and brass are popular and easy to grip). You can even use “hidden” features: for example, push-to-open drawers mean no handles at all, and pull-down racks hide away when not in use. Adding a pop of color or a feature wall can draw the eye. The key is to design it like any modern kitchen – then add accessibility under the surface.